When A "Young Plumber" Replaces a 28-Year-Old Water Heater
At Vito Services, history and family go hand in hand. Our latest project brought back some memories—along with a solid reminder of the importance of routine maintenance! Plumber Carlos "Young Plumber" Diaz and his apprentice Maisel tackled a water heater replacement in Potomac, MD. The unit they removed was a 50-gallon AO water heater that had been originally installed by Vito Services in 1996. Fast forward 28 years, and the team was back to replace it with a larger, high-efficiency 70-gallon State model that better fits the homeowner's current needs.
Watch Us Replace An Old Water Heater Installed In 1996 – That We Originally Installed!
Step 1: Disconnecting and Removing the Old Water Heater
The first order of business was disconnecting the old water heater. As always, Carlos and Maisel followed strict safety procedures, ensuring the water and power were turned off before loosening any connections. As they unhooked the plumbing lines, they noted how remarkably well this old heater had held up, a testament to Vito’s commitment to quality and efficiency even back in the ‘90s.
Step 2: Flushing Out Decades of Sediment and Calcium Deposits
Once disconnected, the next step was to drain the tank—a crucial step in any water heater removal. Over the years, sediment and calcium deposits had built up inside, accumulating into a gritty sludge that came pouring out during the flush. Carlos explained on camera that this build-up is a great example of why routine maintenance is essential. Sediment and calcium deposits not only reduce the efficiency of a heater but can shorten its life.
Vito Services recommends a yearly flush to keep your water heater running smoothly.
Step 3: Bringing in the New, High-Efficiency 70-Gallon Water Heater
With the old heater successfully removed, Carlos and Maisel brought in the new 70-gallon unit. They started in with the rough cuts and began installing new fittings, carefully ensuring everything was snug and correctly aligned for a smooth fit. Moving a heavy-duty water heater like this one required precision and teamwork, and Maisel was right there to assist as they maneuvered it into the basement.
Step 4: Navigating Installation Challenges
As with most installs, there were a few logistical considerations—like cutting the right size pipping and finding the ideal spot for the expansion tank. As Carlos measured, Maisel cut and pressed pipes to fit. Next, it was time to install the Expansion Tank, which the guys quickly noticed would not fit in its previous spot. Expansion tanks play an essential role in reducing pressure fluctuations, and proper placement is critical for optimal performance. After the boys took some time to assess the layout, they were able to determine the best spot for a secure and efficient setup.
Step 5: Igniting the Pilot Light and Completing the Job
With everything securely in place, it was time for the final step: igniting the pilot light. Carlos and Maisel completed the job with professionalism and skill, running through their post-install checklist to ensure everything was functioning correctly. The result? Another successful installation, bringing reliable hot water to the homeowner for years to come.
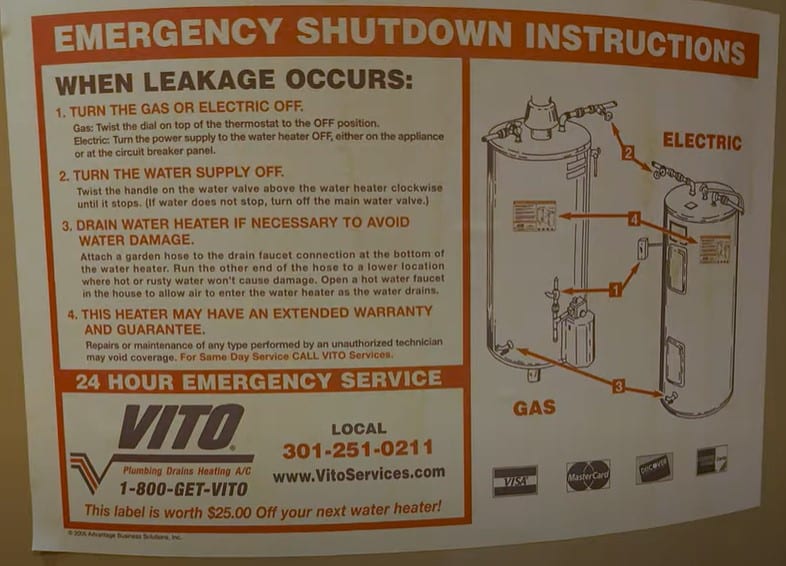
Oh, and let’s not forget to add that Vito Sticker! Who knows, maybe we’ll be back in 28 years to once again install the latest and greatest in plumbing technology!
Why Choose Vito Services?
With over 90 years of experience, Vito Services has been installing high-efficiency water heaters for more than 30 years and takes pride in offering the DMV area the best in plumbing and HVAC services. Whether you need a new water heater, a routine flush, or full-service plumbing assistance, our expert team is ready to deliver quality you can trust.
Leave it to Vito for all of your plumbing needs!


